A1 Skills Development - Level Block out
The Setup
Before I actually began creating my level blockout on Unreal Engine 5, I began by writing up the ideas I had for my level on the notes app, including information such as my personal goals for this level; what I wanted to be achieved through it, the elements used within the level and finally the ideal sequence that the player goes through during the level. After figuring out all the kinks of my level, I then drew up a basic sketch of what I want the level to look like as well as it's layout, allowing me to gather all my thoughts into one place. The main aim of the level was to meet the commonly used principle named Kishotenketsu.
The Beginning
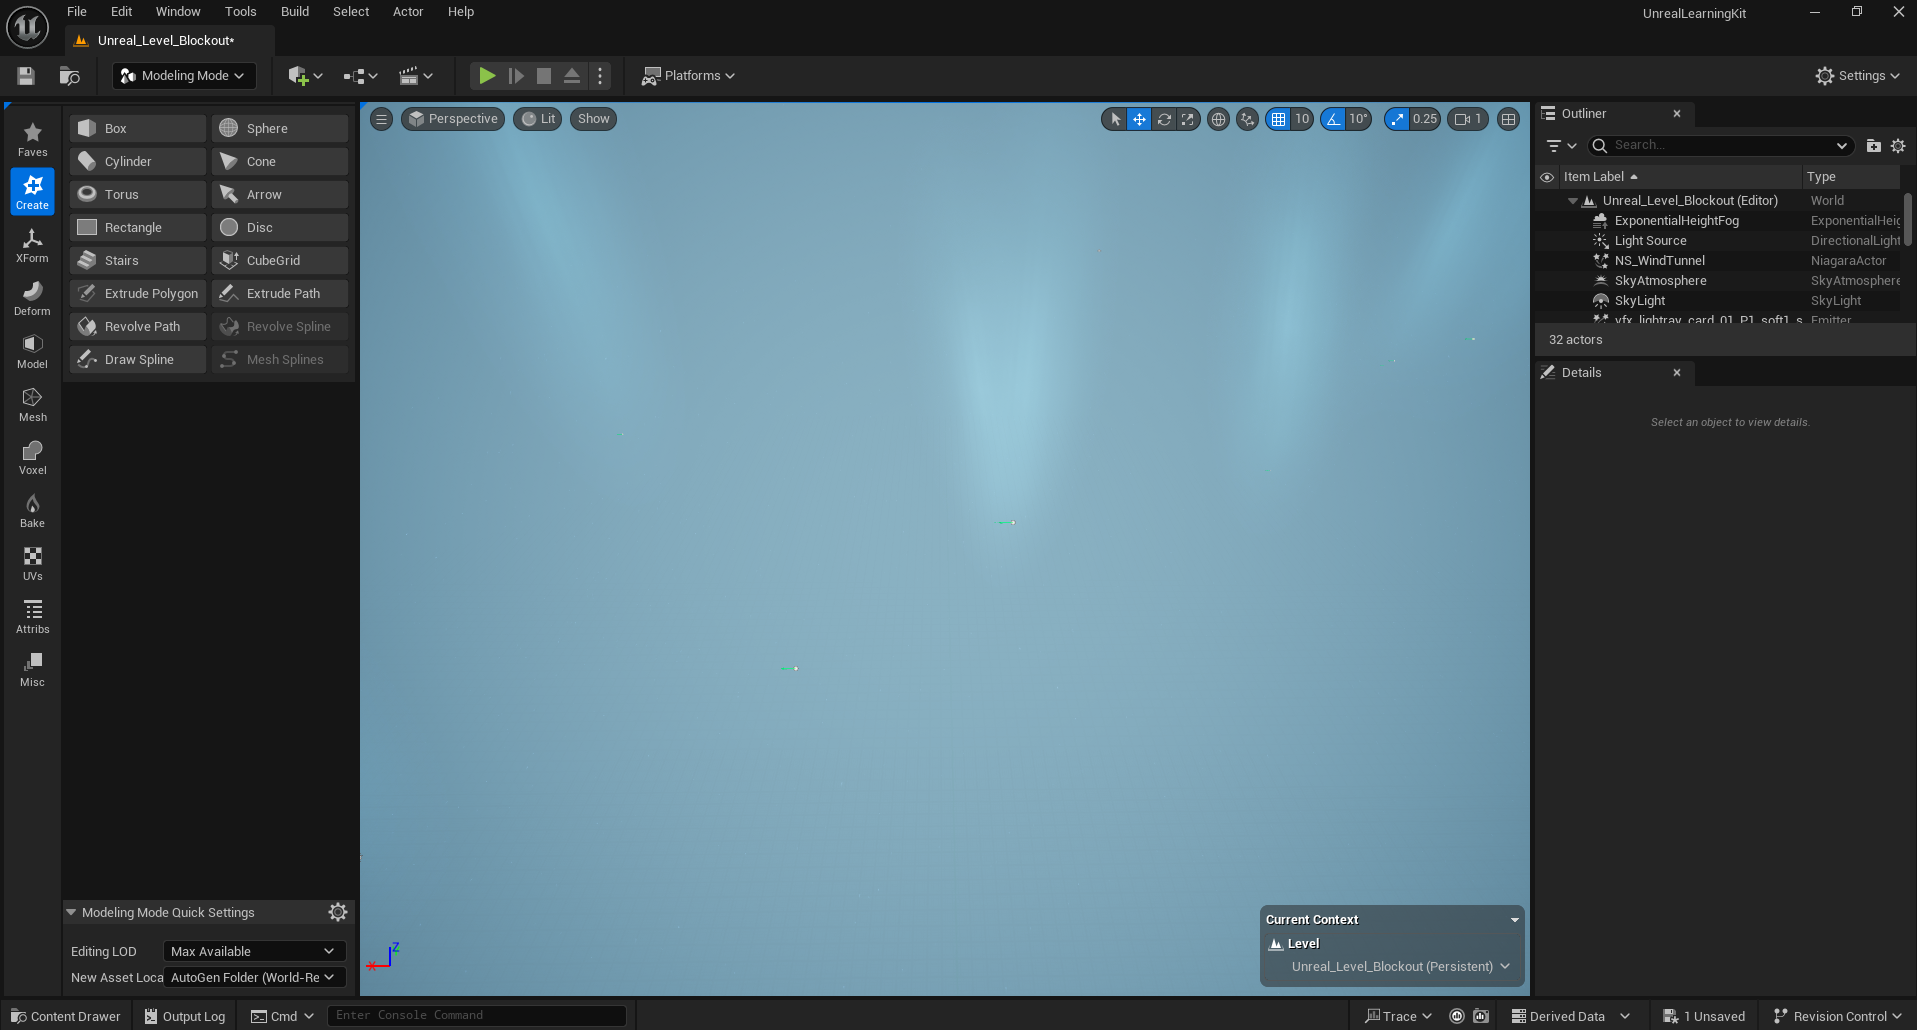
Once I booted up Unreal Engine, I began by accessing my content drawer and created a new map within the Hour of Code folder and named it "Unreal_Level_Blockout". In order to create the new map I made a copy of the Unreal learning kit level and within that copy I deleted every actor within the level, leaving nothing but an empty sky, the lighting settings and a few other actors. Once this was done, I then enabled the modelling tool within Unreal, this allows me to be able to use the cube grid tool, which would then create and model environments without having to drag and drop meshes into the level.
Outlining the Level Blockout
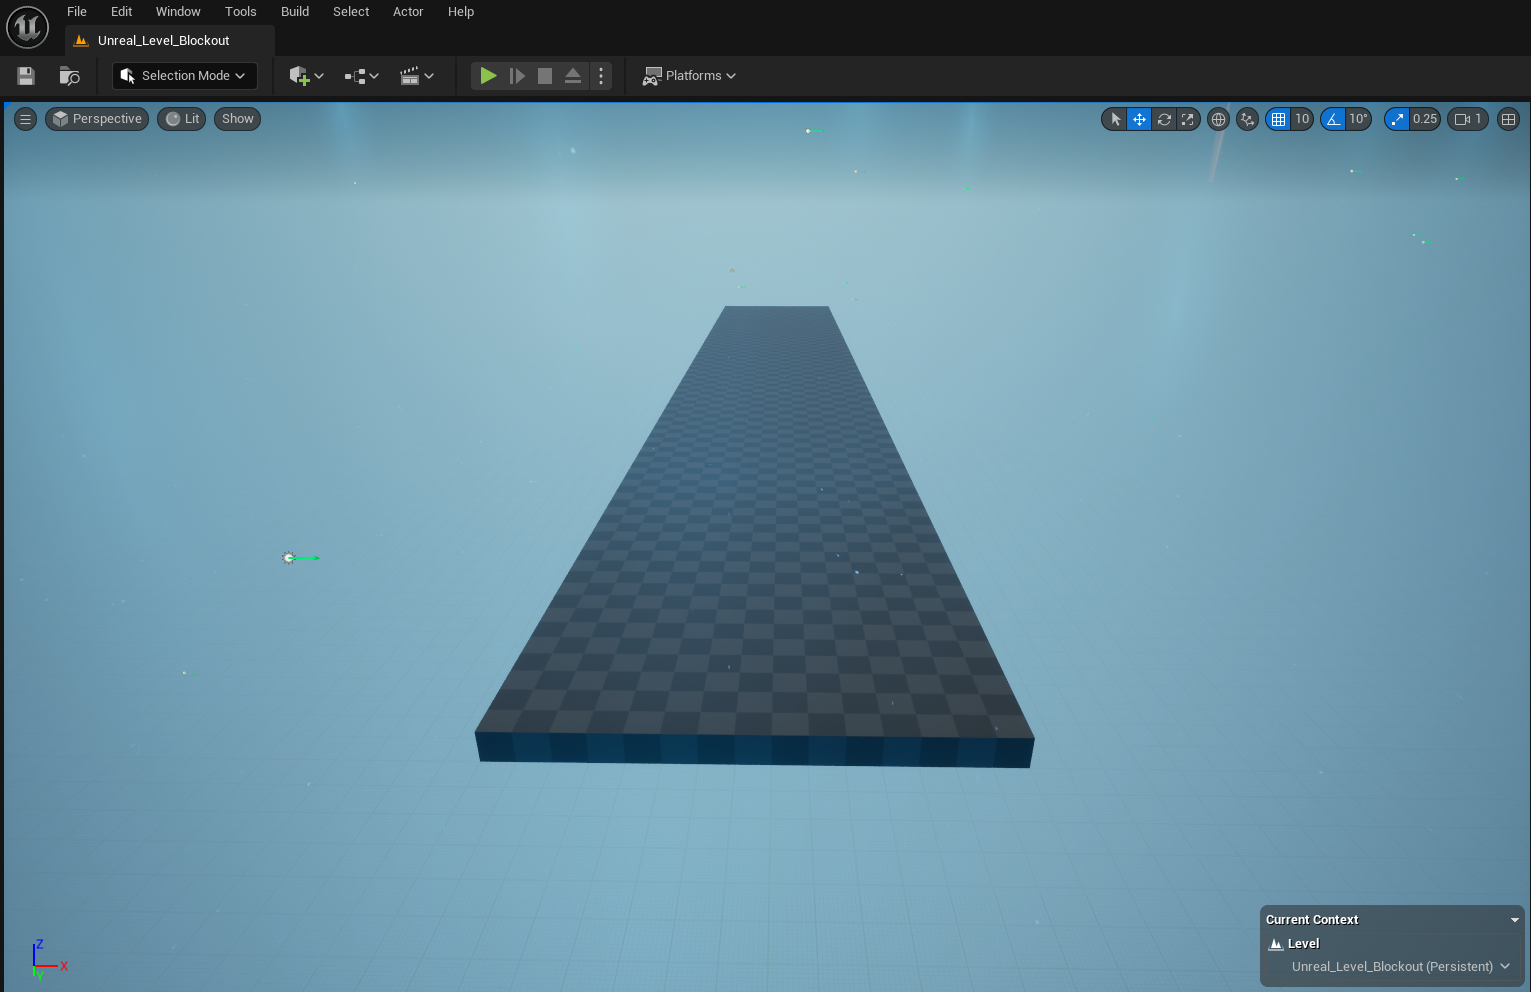
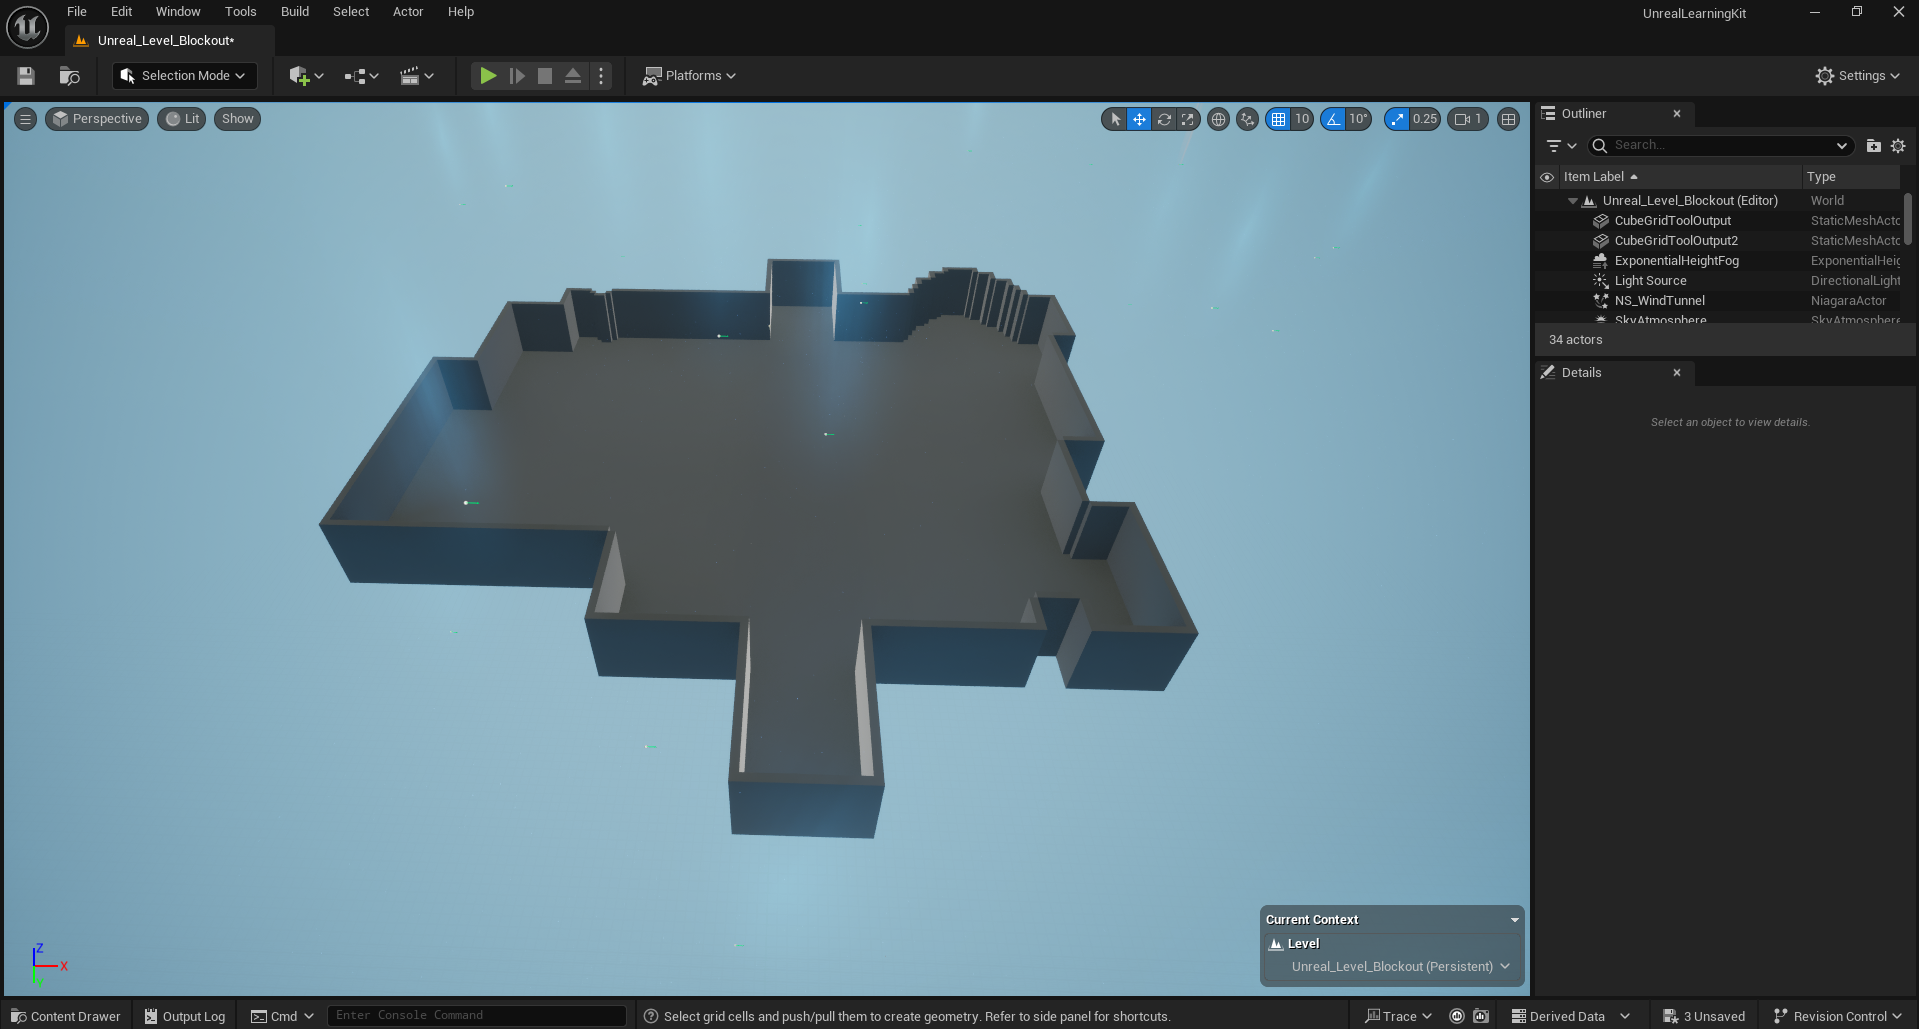
Using my sketch as a reference, I began shaping out the level blockout by using the Cube Grid tool. Using this tool I began by making the ground level of my Temple level, my main inspiration in terms of layout is the dungeons within The Legend of Zelda series, however, I am aiming to simplify this principle idea of a dungeon level by allowing it to be easy enough for people who don't really play games whilst simultaneously aiming to make it challenging enough as to a point where it isn't completely boring and brain dead. To start of this process, I modelled the middle section of the Temple, which contains the starting point that leads directly forwards towards the end point.
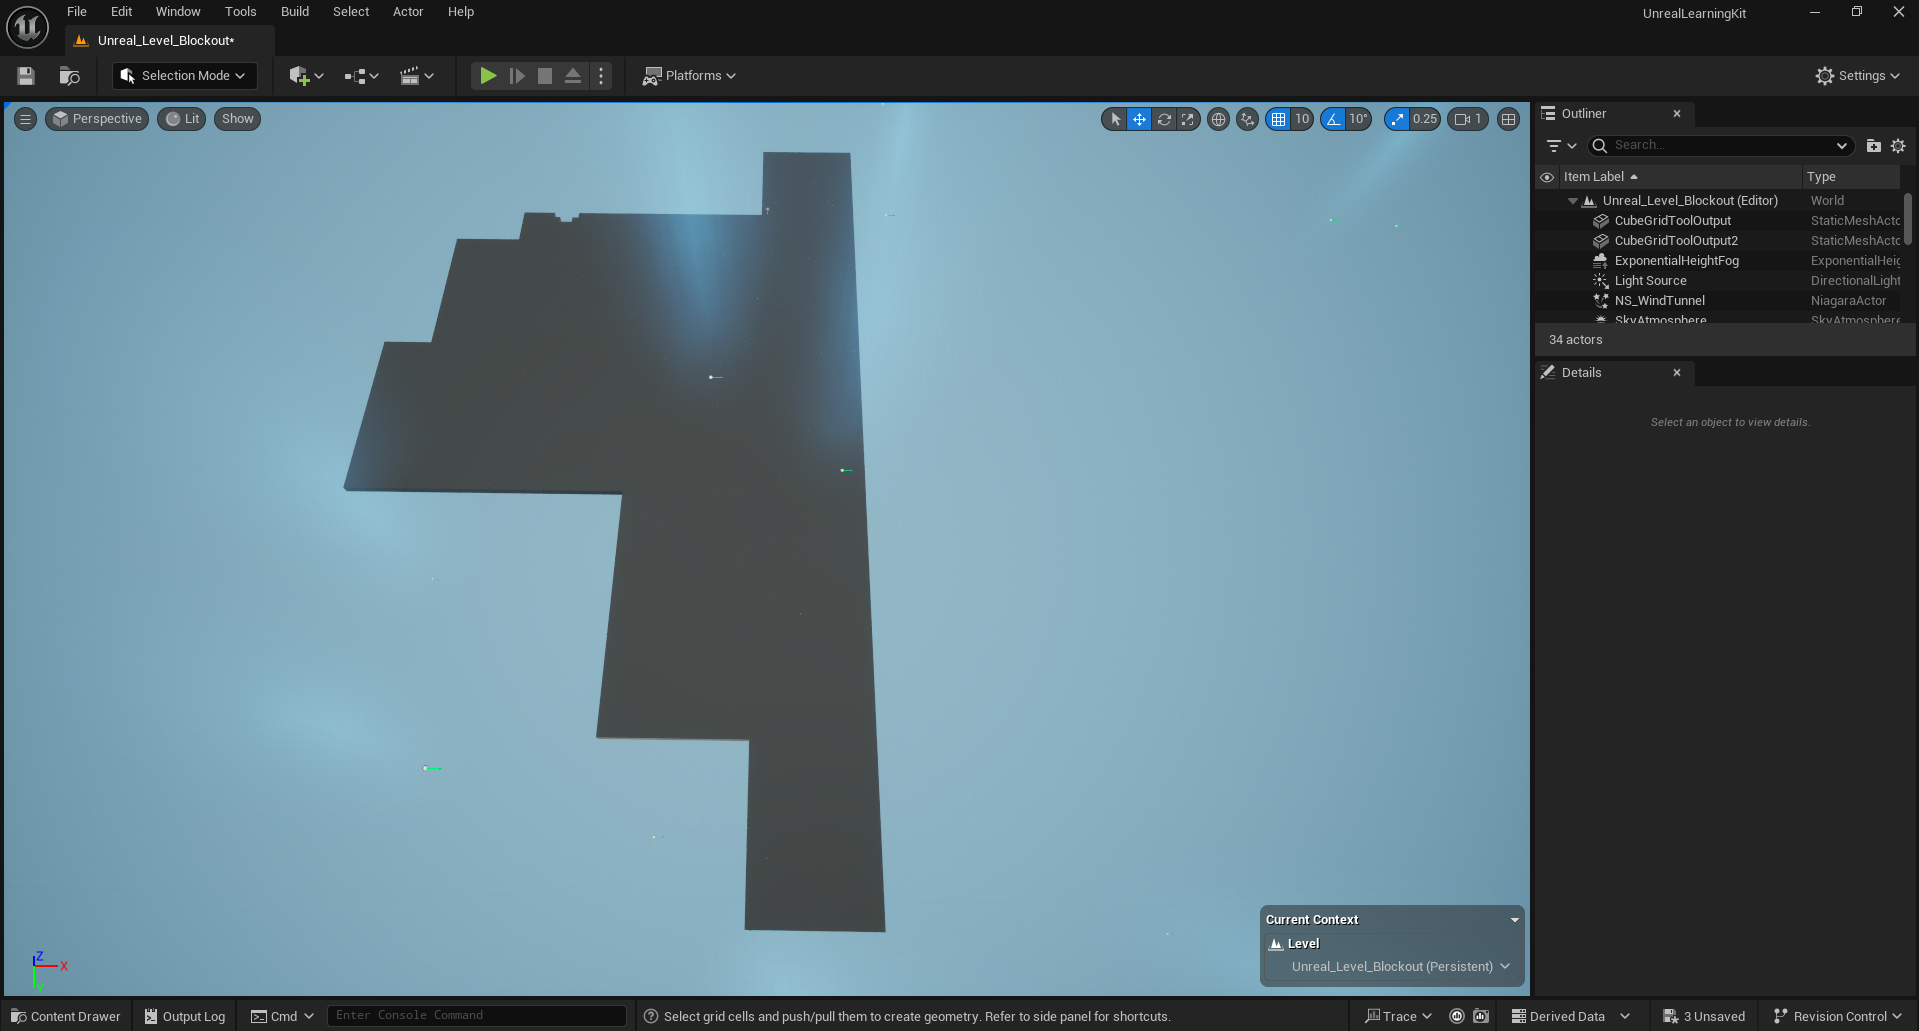
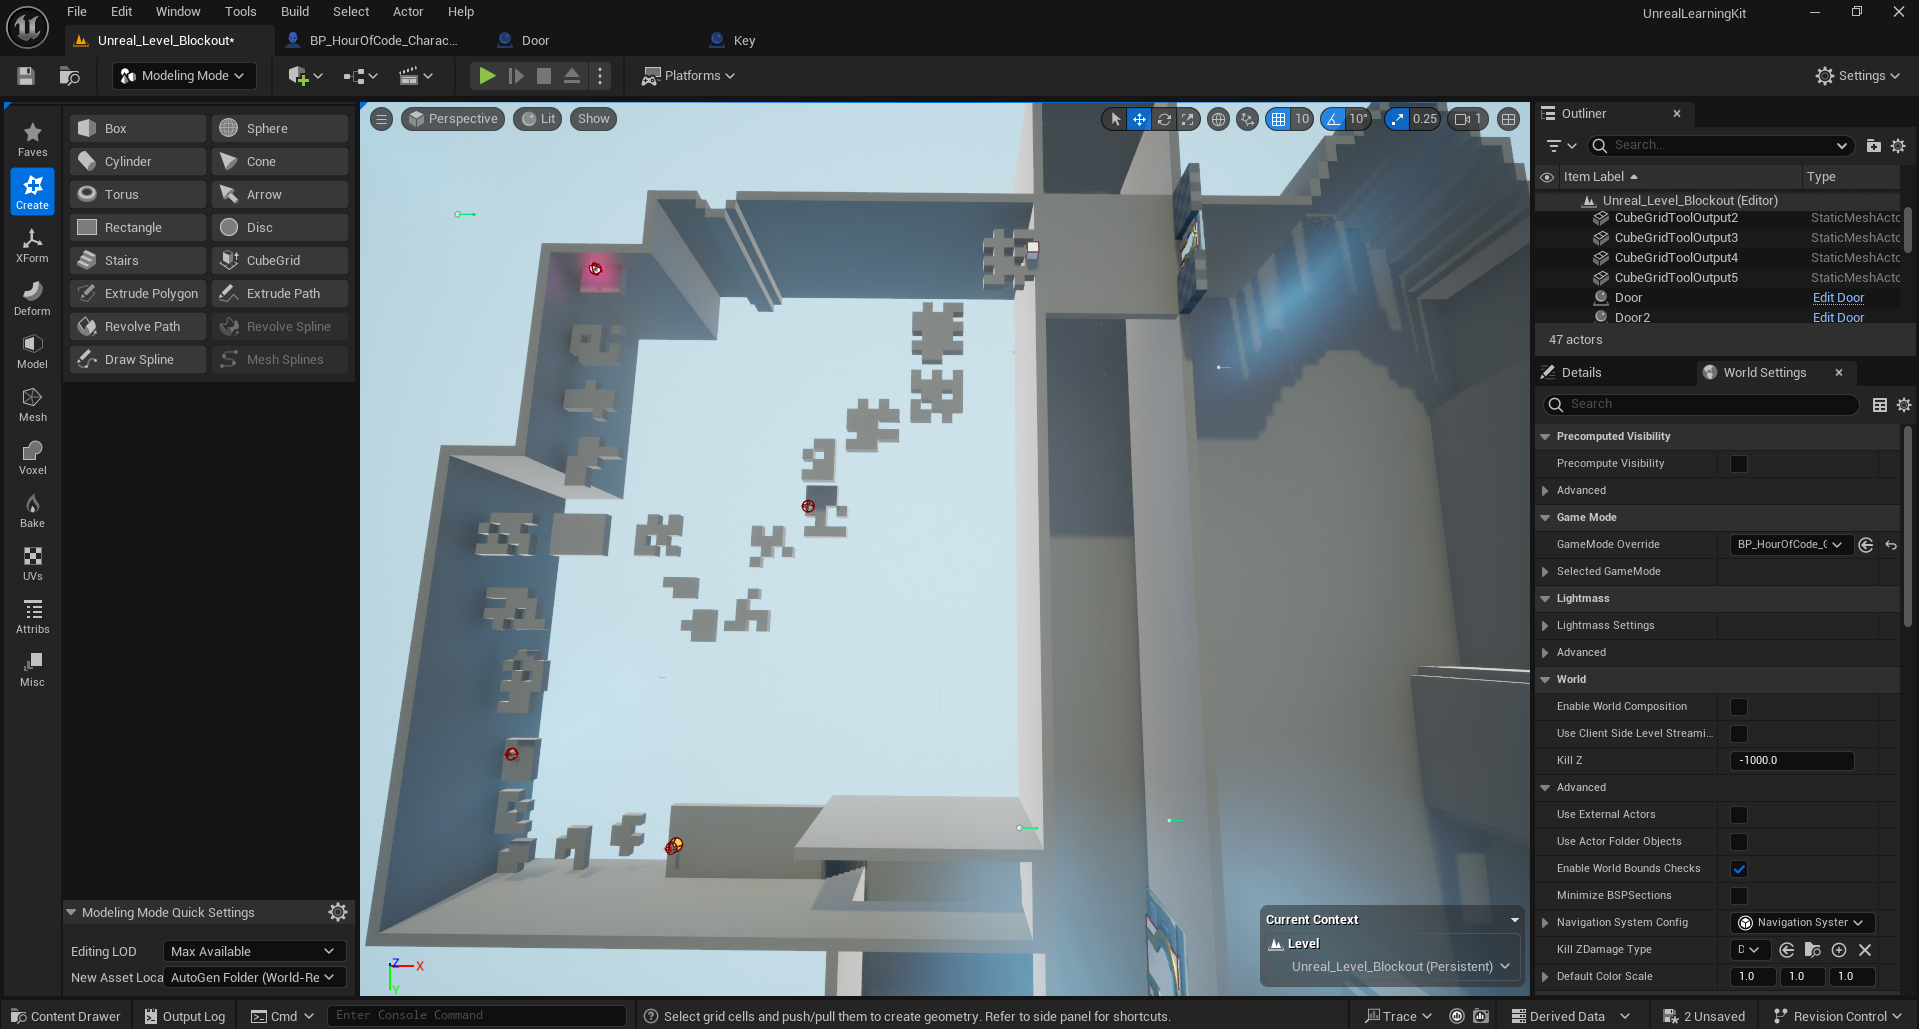
After that was modelled, I then started shaping out the left side of the Temple, which will contain the easier section of the level. Within this section the player will be introduced to the jump boost power up, after picking up the power up, the player will then complete the platforming sequence that follows, which will consist of basic jumping sequences rom platform to platform, eventually leading to a key that unlocks the more difficult path. (Side note - from this point forwards the block out will be one solid colour as I began to find the checkered pattern to be an eyesore).
Once I finished up modelling the left side of the temple, I began to modelling the right side of the temple, which would contain the more difficult platforming section, involving a series of moving platforming sections as well as a few spiked platformed scattered throughout. The aim is to push the player and further develop the level without it becoming too difficult and tedious to complete.
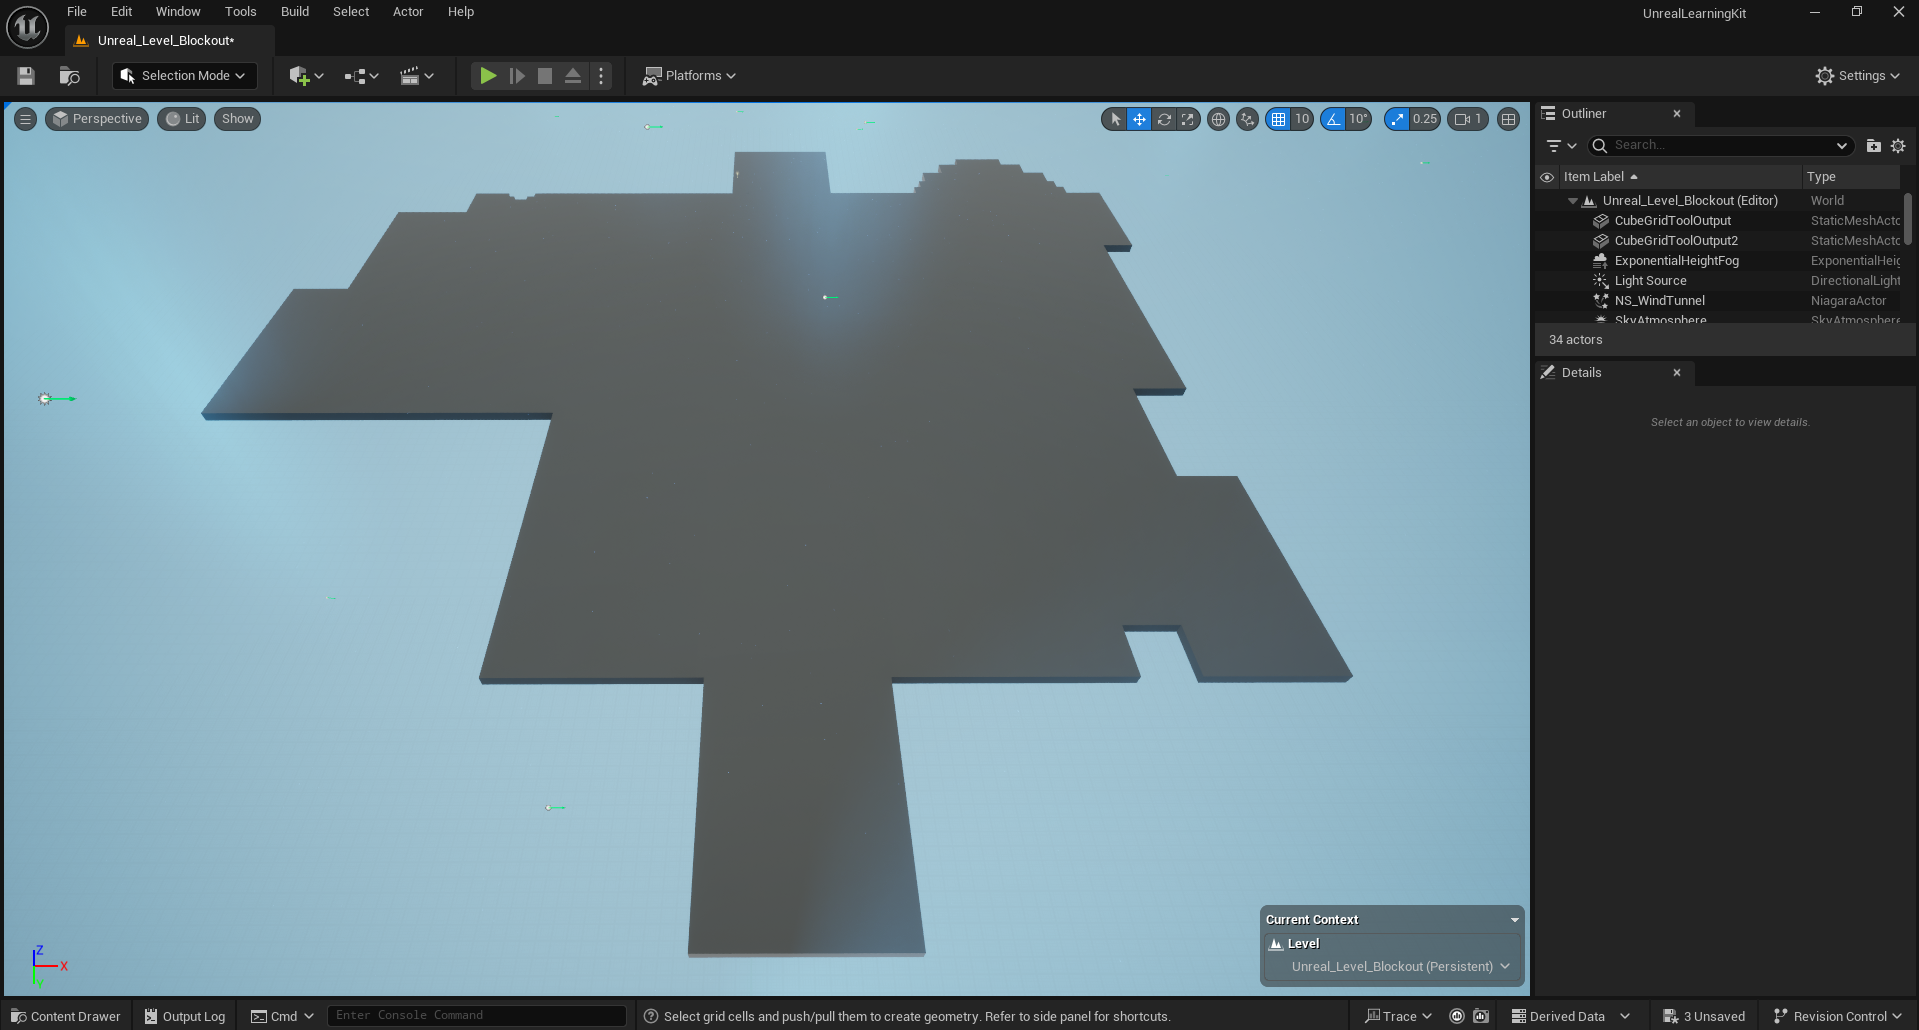
Next up, I began creating the border around the level, making it so that the player is walled in and unable to leave the level barrier. As well as this, I slightly adjusted the left side of the temple, making it larger in length as I felt as though it was too short compared to the right side.
Creating my Blueprints
After creating the basic outlining of the ground floor of my Temple level, I lent the advice a friend as creating blueprints and coding are not my strong suits. With his help I created blueprints for a locked door and key that will be used a few times throughout the level. The process saw us creating nodes that determine whether or not the doors can be unlocked at any given time. The nodes essentially see the game programme check whether or not the key is possessed by the player.
Sectioning the Level
As I have stated a few times within the post, I plan to have my level split into two sections, one being easy, the other being hard. The next step of my block out journey involved walling off the left side of the map from the middle section, in order to show the player the branching paths off the bat. I began this process by modelling out the walls around the easy path of the level as well as using the stairs tool to elevate the player into the platforming sequence. Alongside modelling the platforms I began adding the jump boosts scattered within the level as well as a checkpoint and collectable gem hidden off to the side. The final step of the easy path included adding the key to unlock the harder path. Before moving onto the harder path, I had some piers attempt to complete the platforming section and using their feedback, I adjusted the jump velocity of the power up to be 480 rather than 600.
Next up, I began working on sculpting the harder path of my level that will contain moving platforms (and possibly trap platforms?) that will eventually lead right back around the temple to the start point, and from there the player can then go directly towards ending. First things first, I scul[ted some simple platform shapes and then began working on how to make them mobile. To do so, I had to use the clapperboard found in the top left corner of the screen. After pressing on the icon, I then created a sequence called "S_MovingPlatform". Using this, I made it so that one of the platforms would move forwards, up, back down and then to it's original position. Along the way I also kind of deviated from my initial idea of easy and hard paths and rather made the hard path more of a choice section, where the player can choose to take a simple platforming section that is very easy but somewhat long, or take the more difficult but direct route instead. After doing so I finished off the block out by creating the end goal, which was very simple to complete.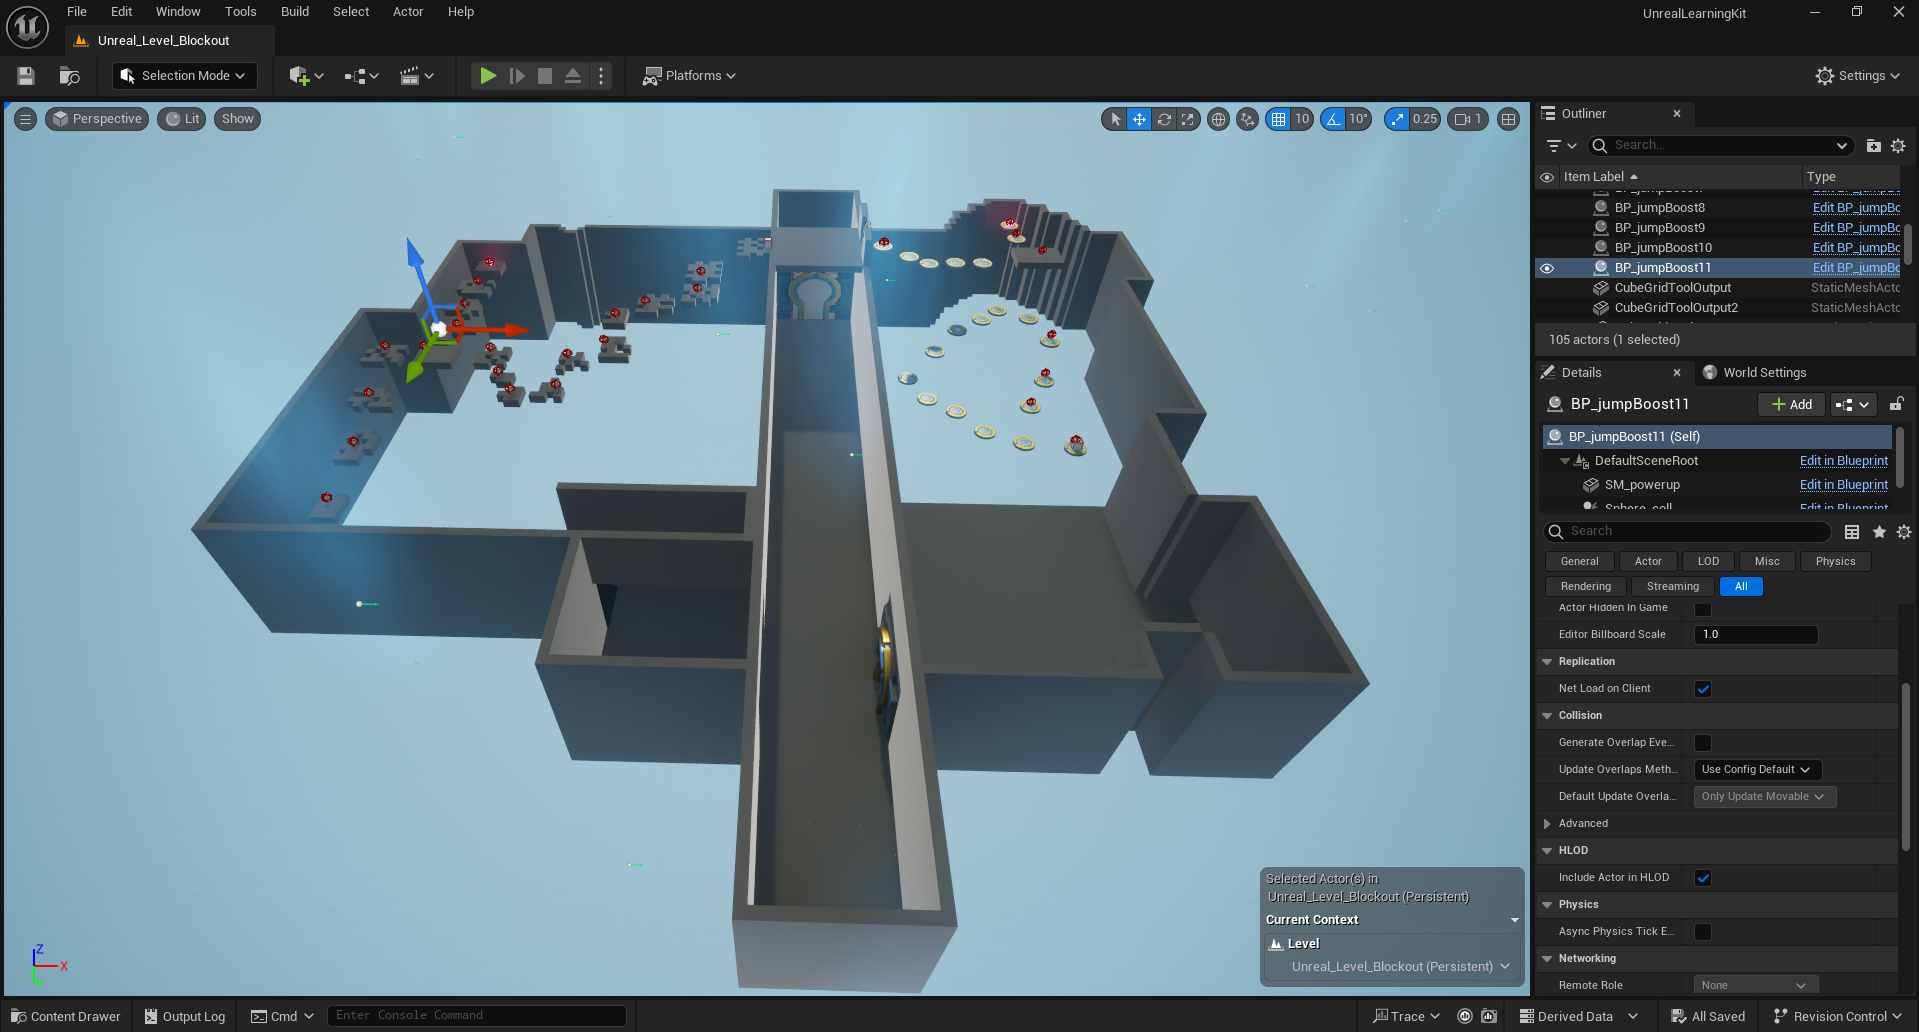
Leave a comment
Log in with itch.io to leave a comment.