The Set Up
Before I began creating the mug model, I started with creating a mood board full of reference images that I used to help me create my model as well as the texture that I wanted to use. The mood board can be found at https://miro.com/app/board/uXjVL13_vZs=/
The Beginning of the Model Creation
I began modelling a mug on maya by first selecting a cylinder poly and then going into the attribute editor and changing its height and width to 10cm and 4cm respectfully.
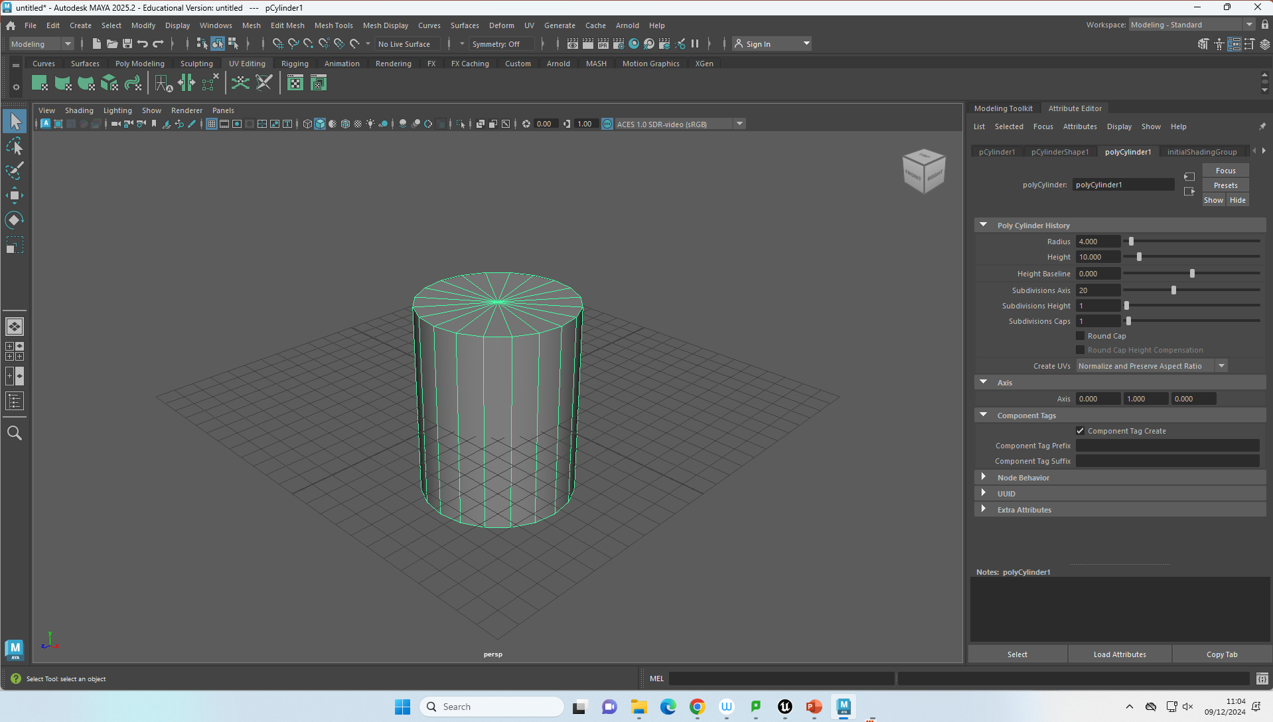
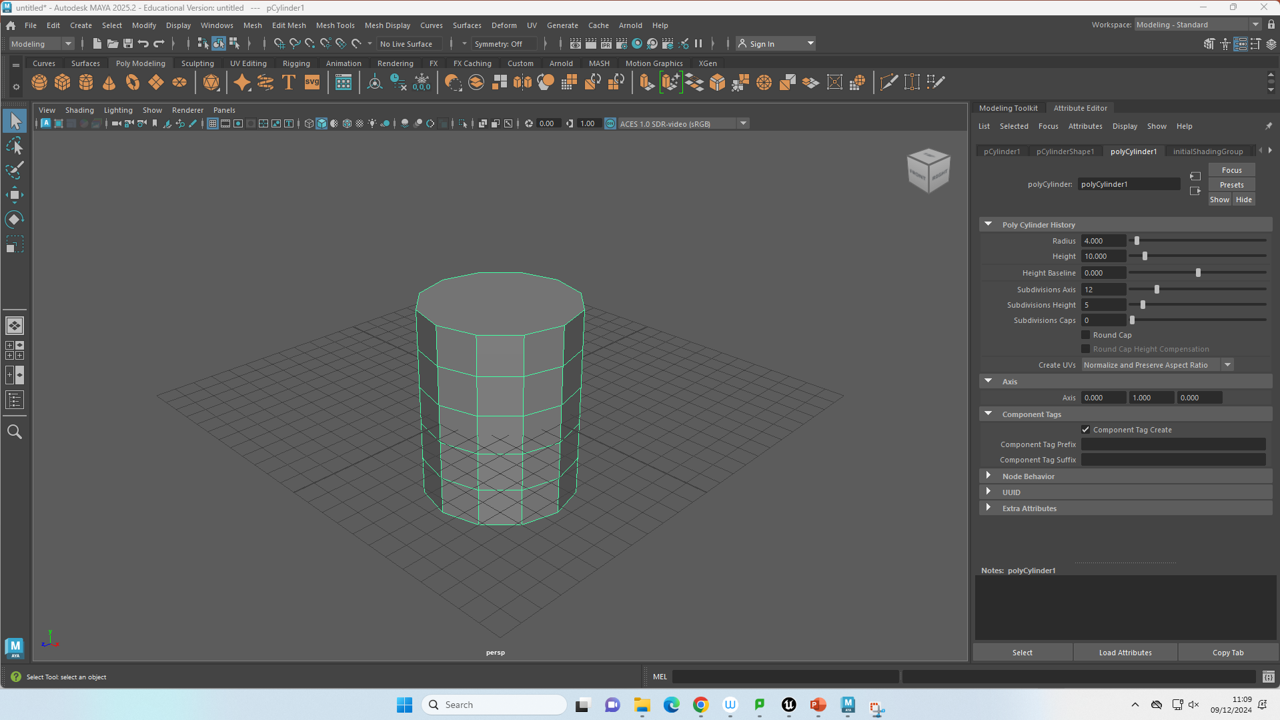
I then changed the subdivisions axis, height and caps. This in turn gave the cylinder a more mug like shape as well as making the top of the cylinder one face.
The next step involved deleting the face on the top of the cylinder and then using the hotkeys CTRL + E to extrude the face on the bottom of the cylinder to bring the faces inwards towards the middle. This is due to the foot of a mug being dented in.
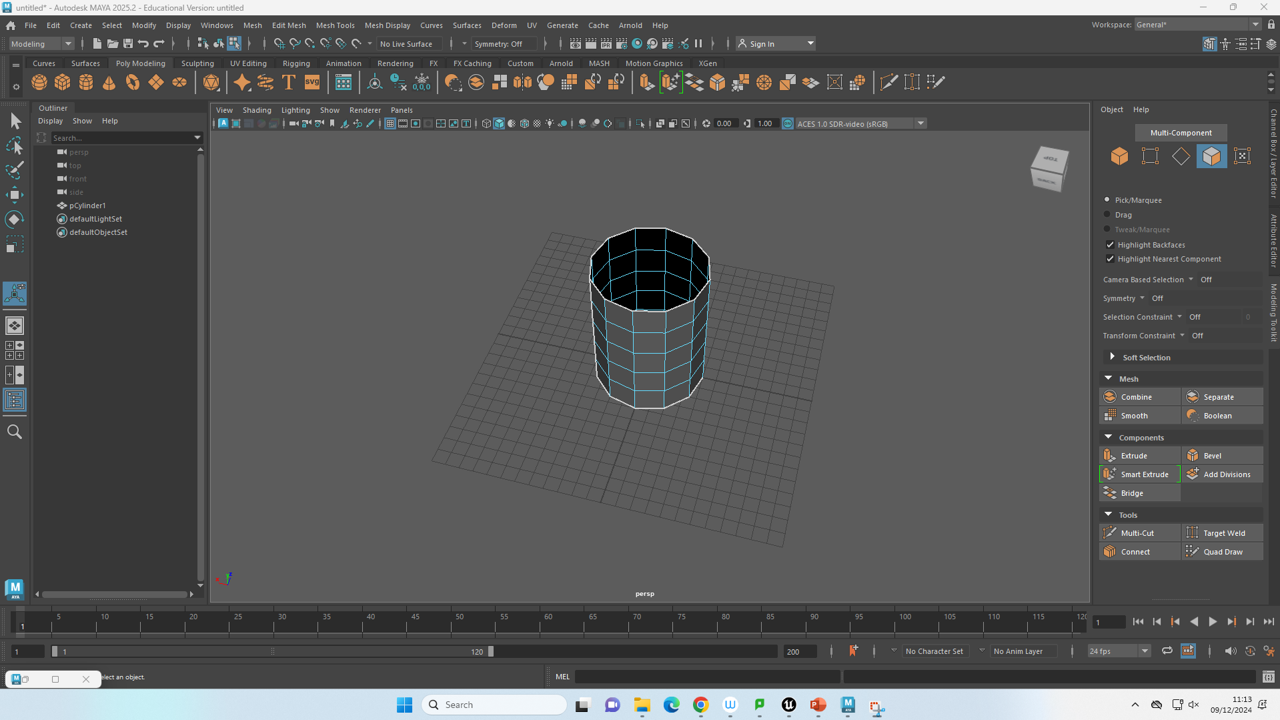
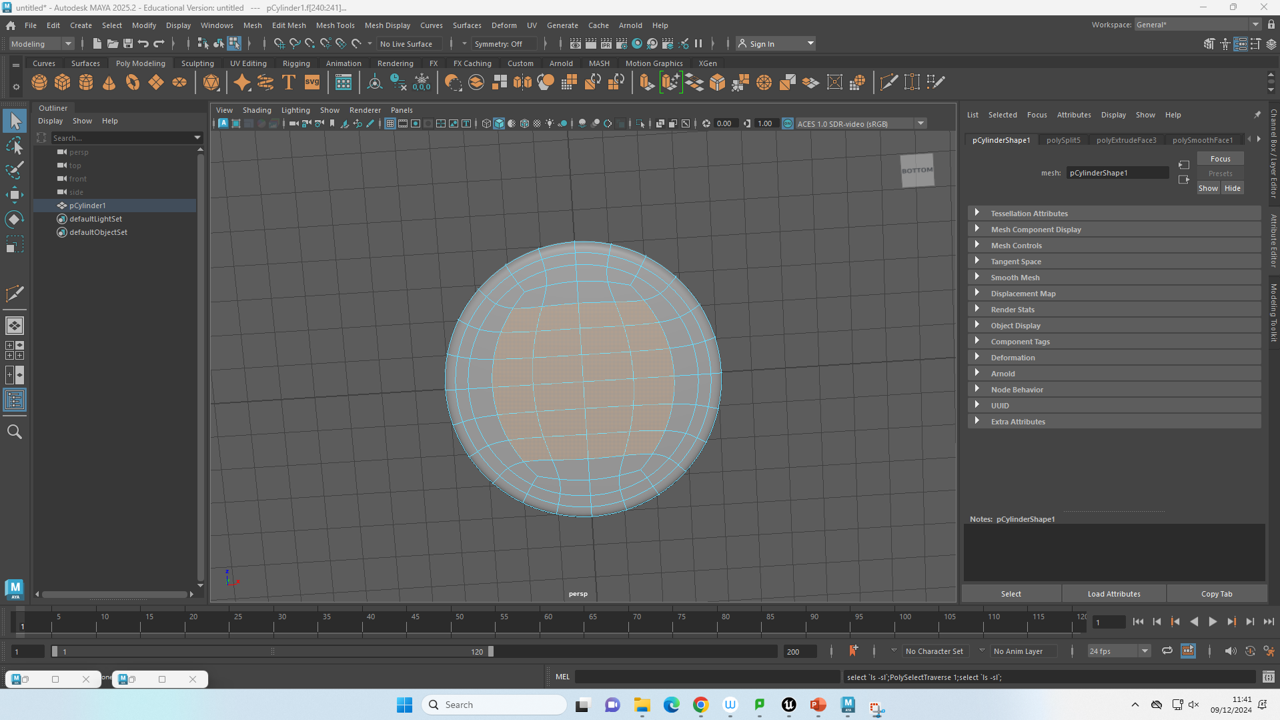
I then cut the extruded foot of the mug into quads using the multi-cut tool. Next, I deselected the multi-cut tool and then went into object mode then smoothed the cylinder out in order to give it that usual mug appearance. I then pressed CTRL + E in order to extrude the shape as I wanted to adjust the thickness of the model. Around 0.3 or 0.4 is what I settled with in the end. As well as this I added an edge loop around the rim of the cup to remove the sharpness.
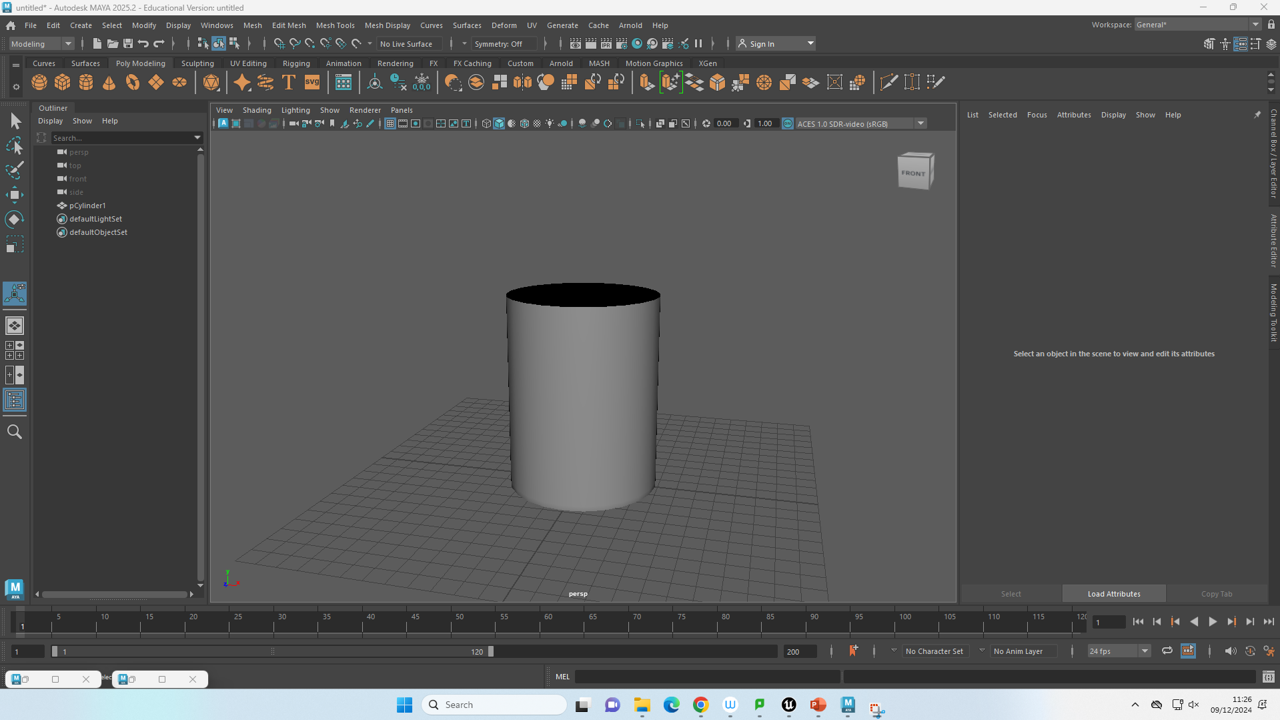
The next step involved pushing the foot of the mug inwards in order to make it as accurate to a real mug as possible. This is due to the fact that mugs are not usually completely flat on the bottom. To do this I extruded all the faces at the bottom by the z axis, this was achieved by translating it to -0.1.
After I extruded the foot of the mug to be dented inwards I began working on where the handle of the mug would be placed. To do this I began by selecting four faces on both the bottom and top of the model and then pressed SHIFT + RMB to circularise the faces before deleting them. I then went into edge mode and double tapped around each of the faces before extruding inwards.
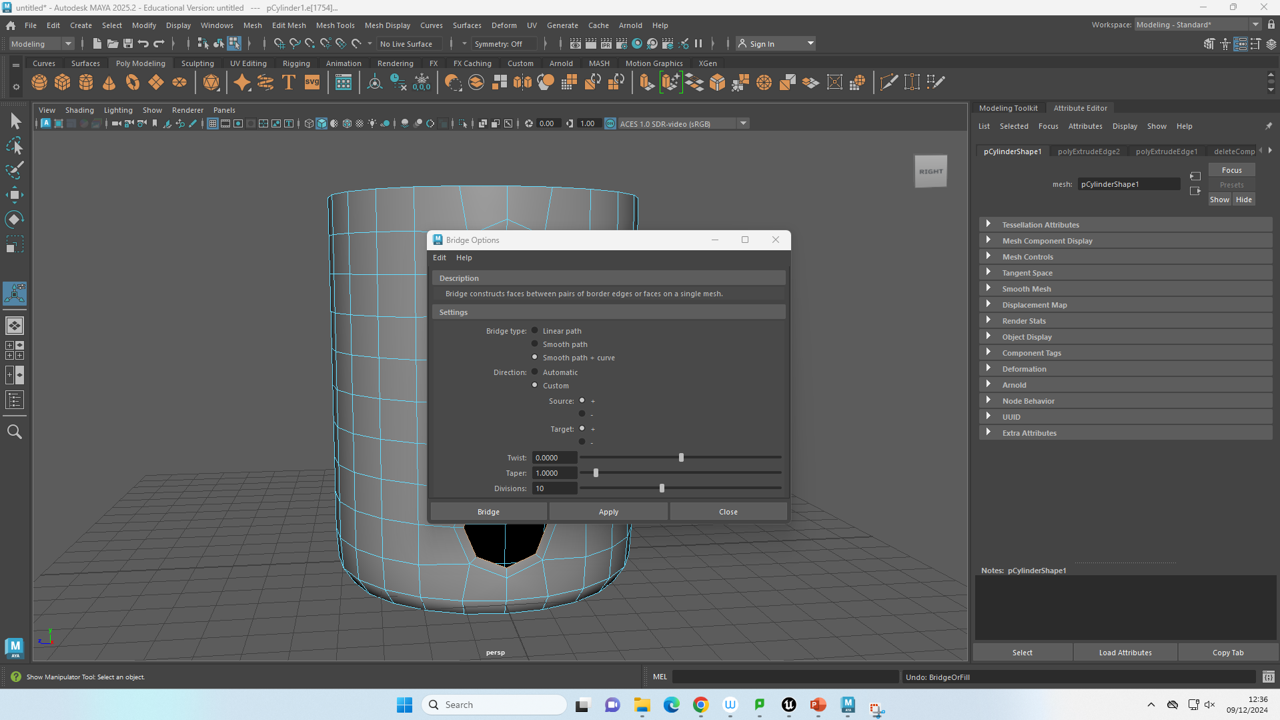
The final step of the actual modelling process involved using the bridge tool to create the handle of the mug. In order to create the handle in an accurate fashion I had to adjust the options. I changed the bridge type to be smooth + curves, the direction to custom and the divisions to be 10.

Finally, I finished up by editing the model to give it a ceramic layer, giving it a basic, but recognisable mug look.

UV Unwrap
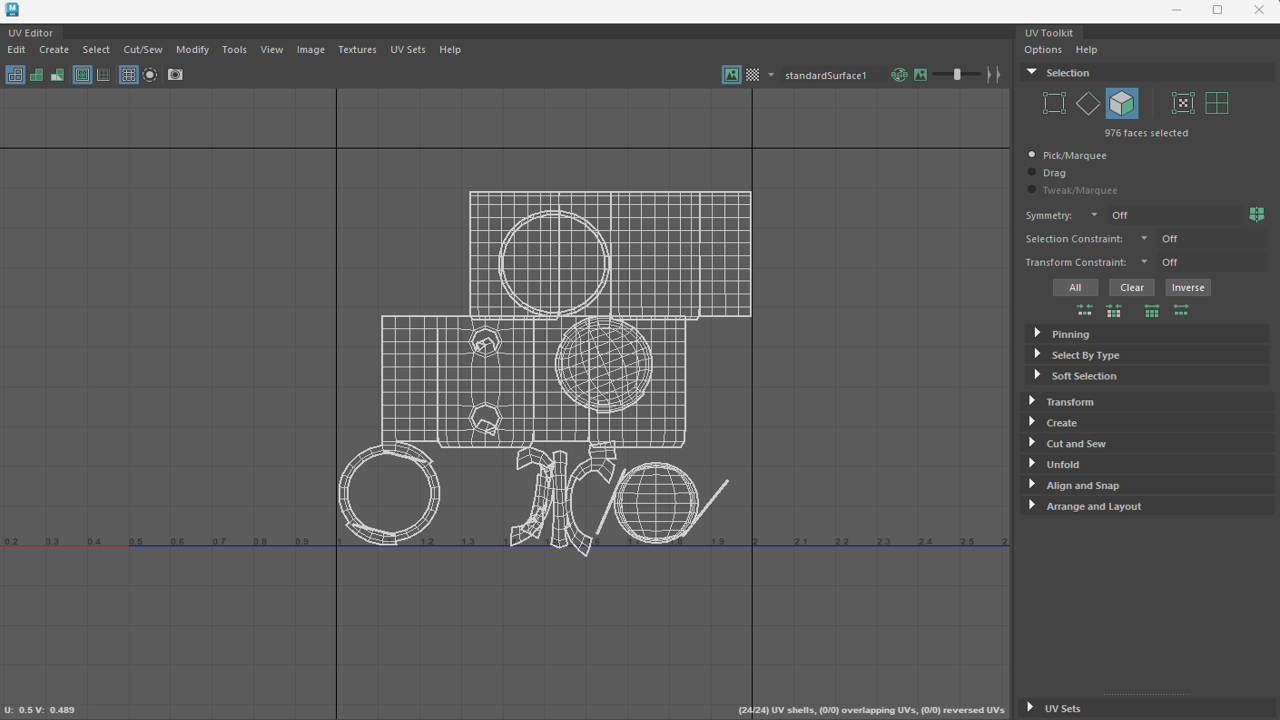
The UV unwrap, despite appearing quite messy and out of place, was simple and effective in result. The process involved a series of moving the islands and sewing them together.
Texturing on Substance Painter
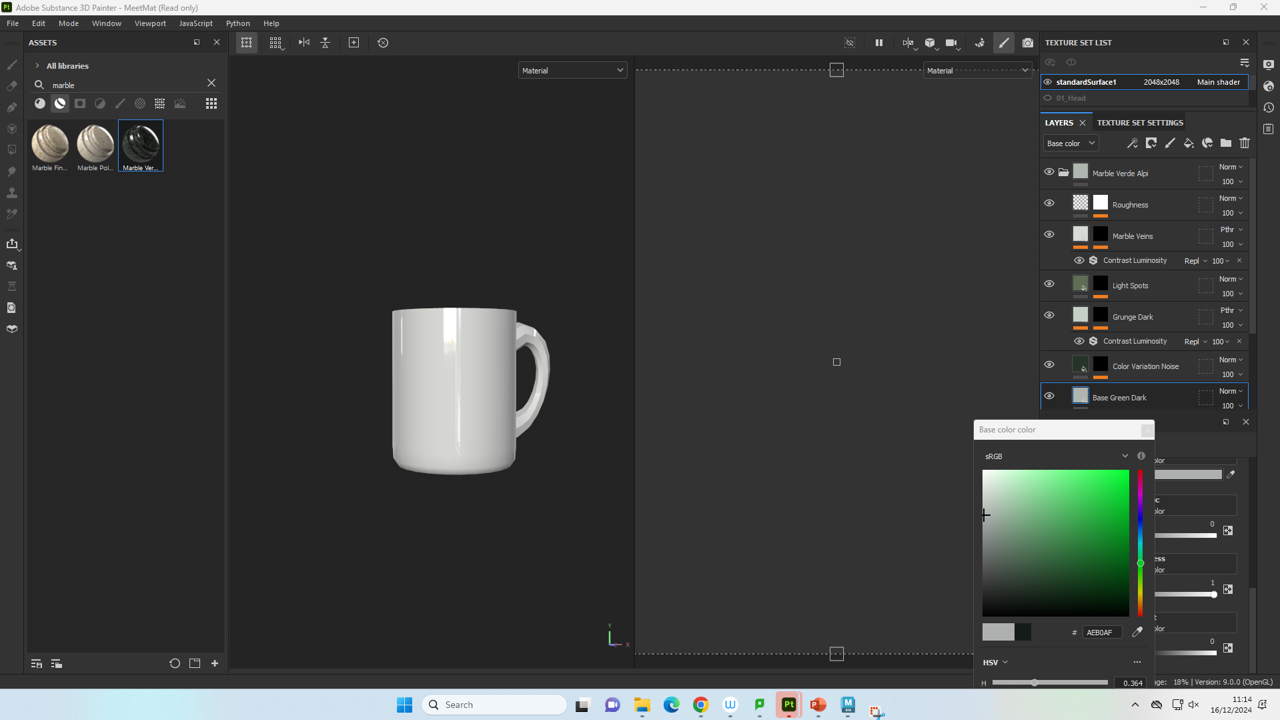
After finishing the UV unwrap on Maya, I exported the file as an FBX before attempting to import the file onto substance painter. Adding the file as an import was not working, so after that I just dragged the file straight from the file explorer and it worked. After a bit of messing around with some of the materials, I eventually settled on the Marble Verde Alpi material and then adjusted the colour from a dark green to be an off white colour.
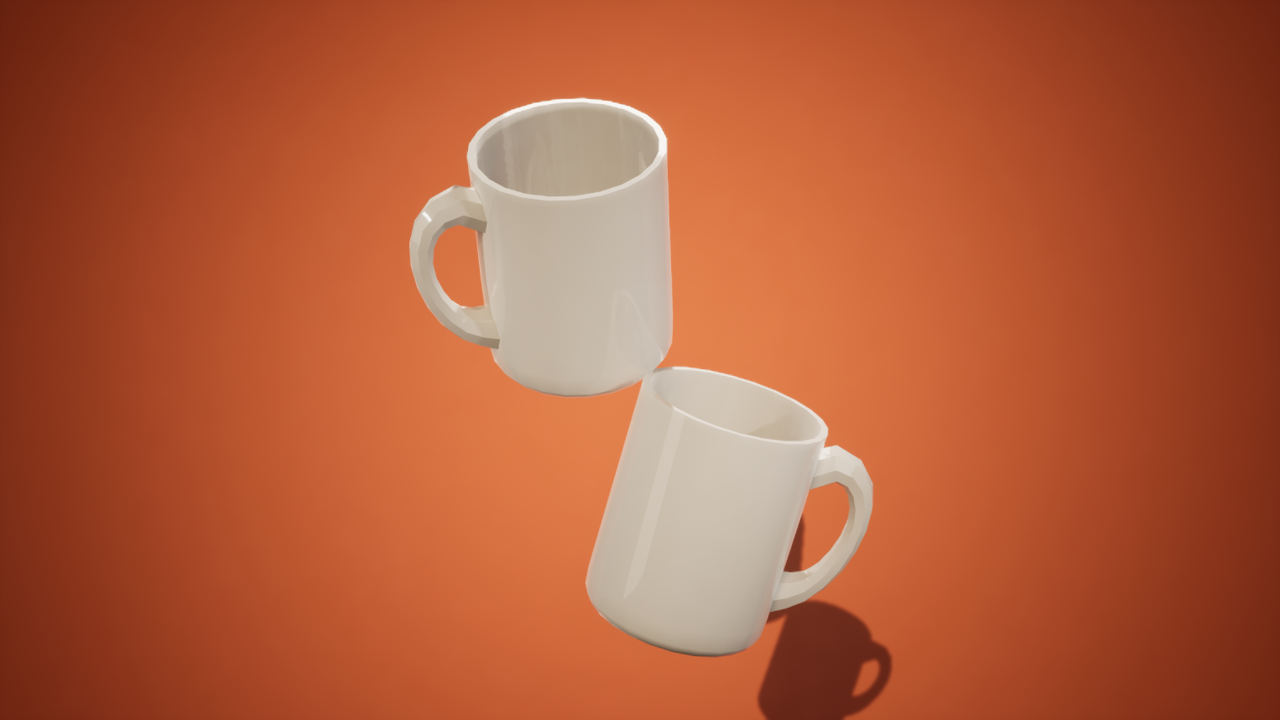
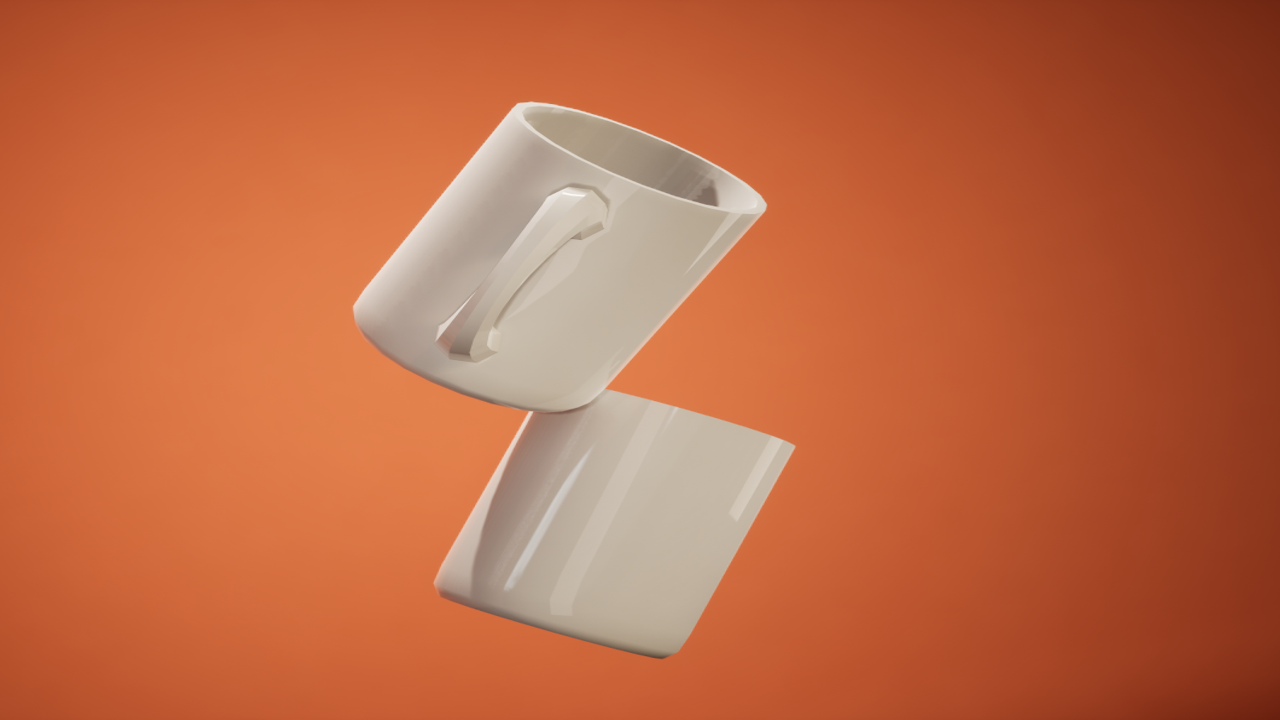
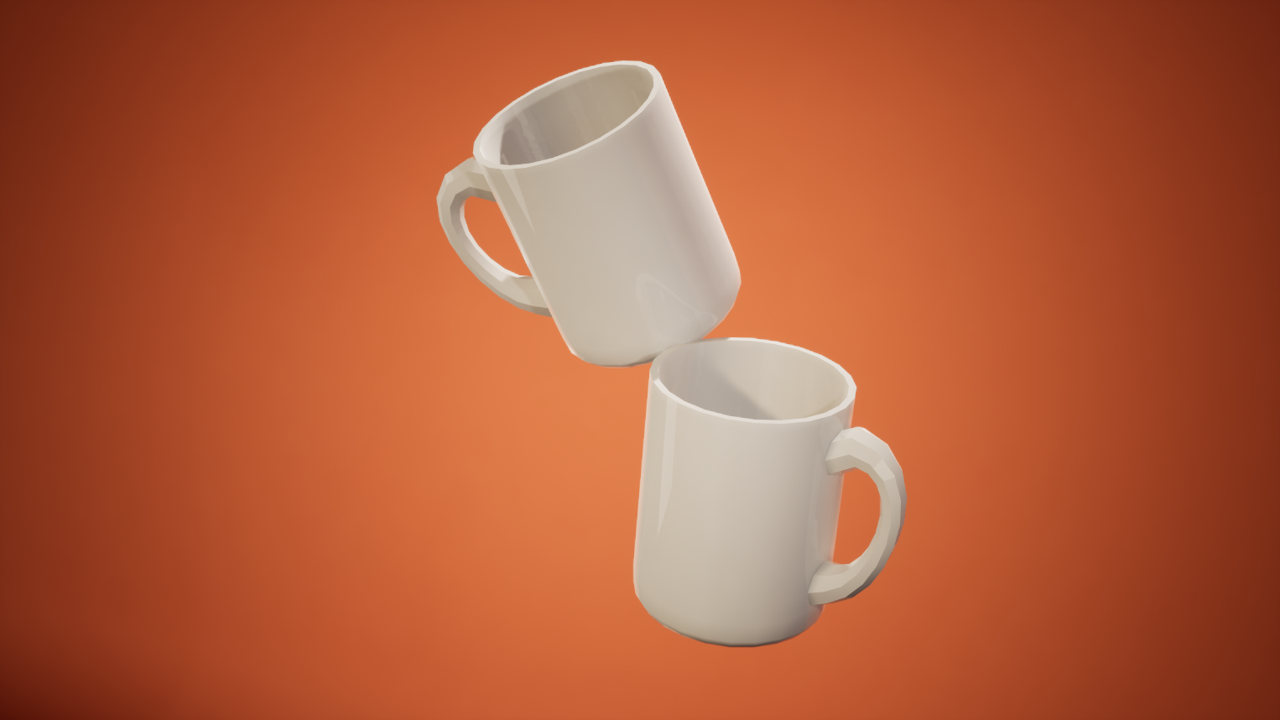
Unreal Render/Beauty Shot
Get A1 Skills Development
Leave a comment
Log in with itch.io to leave a comment.